How to deploy FLUX.1
In this guide, we will create a simple FLUX image generation workflow using Ikomia API and deploy it to the cloud with Ikomia SCALE to integrate it into your application.
💫 This tutorial is also available as a Jupyter notebook.
1. Installation
First, ensure that you have installed the Ikomia Python API and CLI:
pip install ikomia ikomia-cli
2. Create a workflow with Ikomia API
To get started, let's create a workflow using infer_flux_1 algorithm from Ikomia HUB:
from ikomia.dataprocess.workflow import Workflow

workflow = Workflow("FLUX Image Generation")

flux = workflow.add_task(name="infer_flux_1")
flux.set_parameters({
    "model_name": "flux1-schnell",
})

# Save workflow as a JSON file
workflow.save("flux_workflow.json")
Running your workflow locally
Ikomia API is open-source and also highly suitable for self-hosted solutions if you prefer to run workflows locally.
Here's how you can modify the previous script to execute the workflow locally:
from ikomia.dataprocess.workflow import Workflow
from ikomia.utils.displayIO import display
workflow = Workflow("FLUX Image Generation")
flux = workflow.add_task(name="infer_flux_1")
# Configure the algorithm
flux.set_parameters({
"model_name": "flux1-schnell",
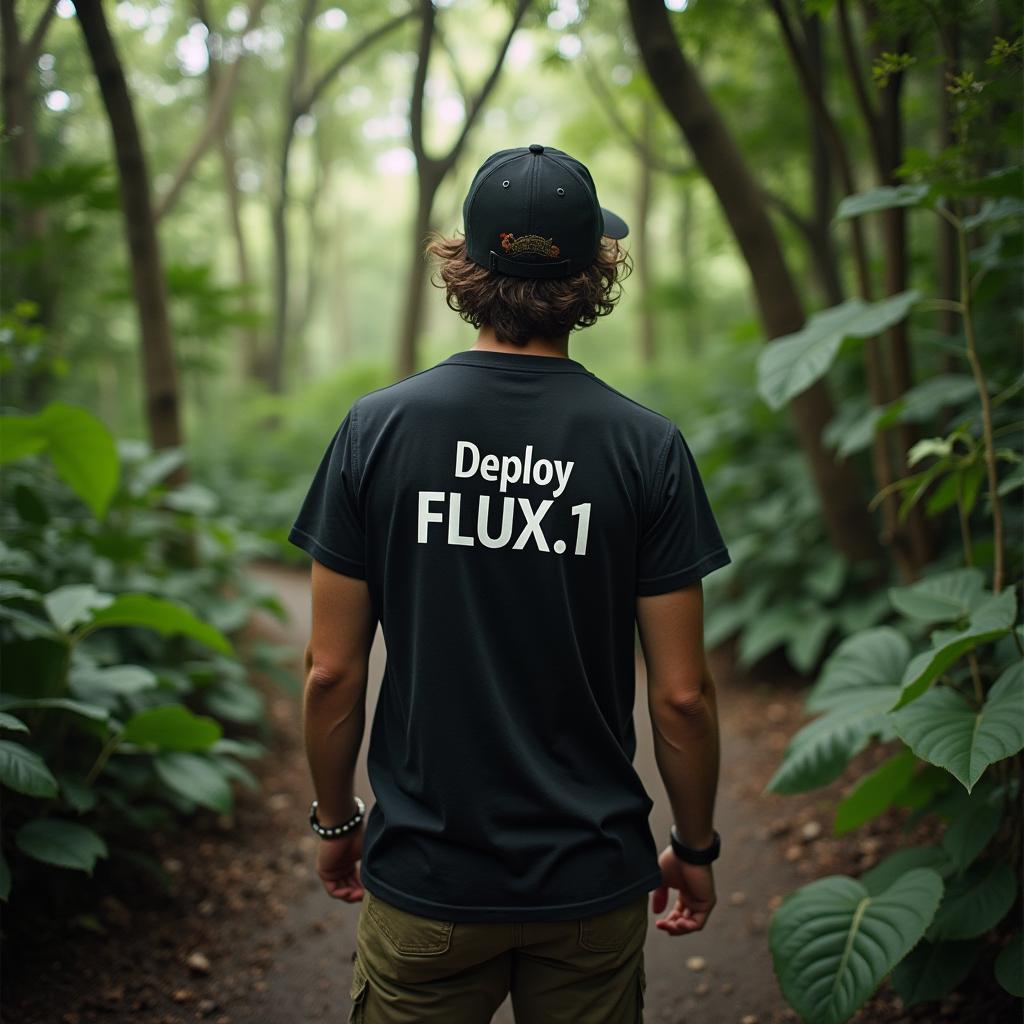
"prompt": "An adventurer in the jungle with a tshirt that says 'Deploy FLUX.1'.",
})
# Run the workflow
workflow.run()
# Display the output image
display(flux.get_output(0).get_image())
Please note that FLUX is a large model that requires at least 12GB of VRAM.
To create more advanced workflows, check out the Ikomia API documentation.
3. Deploy your workflow to Ikomia SCALE
If you haven't already, create an Ikomia account.
Create an API token
To authorize the CLI and your code to access your Ikomia SCALE account, create an API token and set it as an environment variable:
export IKOMIA_TOKEN=PASTE_YOUR_TOKEN_HERE
Push your workflow
Create a project and push your workflow to Ikomia SCALE:
ikcli project add YOUR_USERNAME FluxImageGeneration
ikcli project push FluxImageGeneration flux_workflow.json
You can now view and manage your project and workflow on the Ikomia SCALE dashboard.
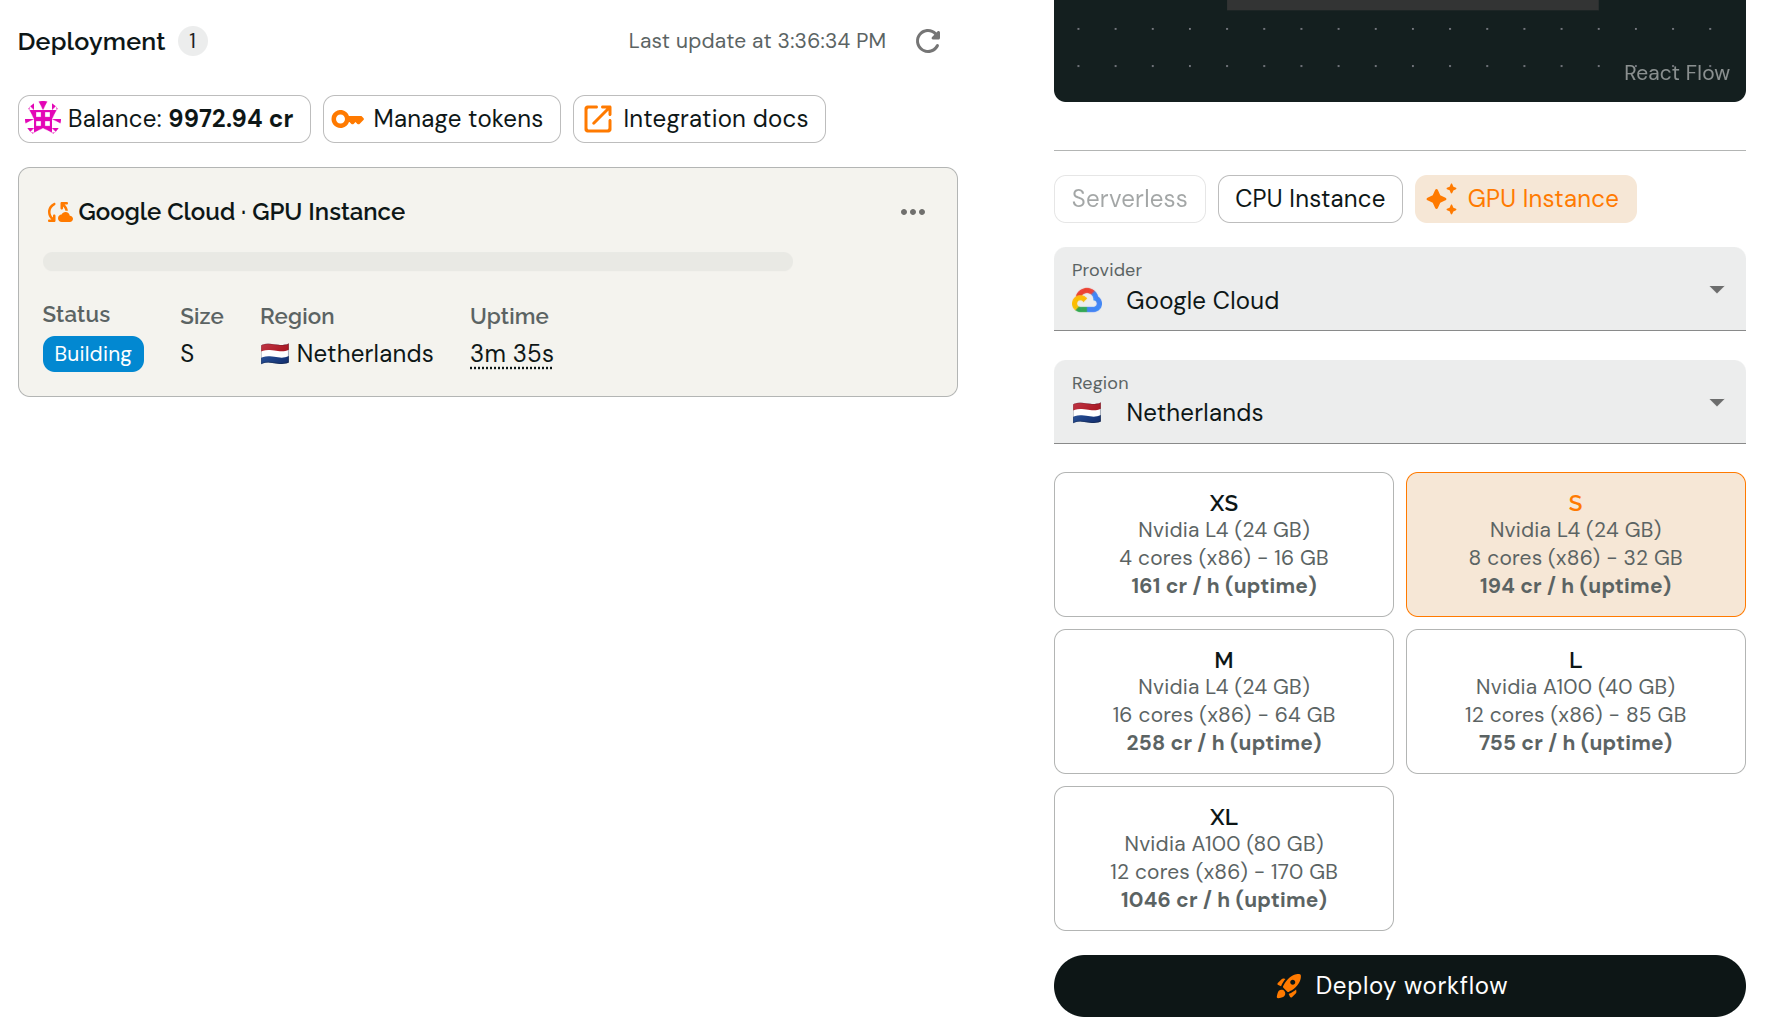
Deploy
On the workflow page, select a deployment option and click on the Deploy workflow button.
Once your deployment is ready, you can test it via our online interface.
4. Integrate your deployment in your application
We provide Python and JavaScript client libraries to help you integrate your deployment into your application.
We also provide a REST API for integration on any language/platform.
- Python
- JavaScript/TypeScript
pip install ikomia-client
from ikclient.core.client import Client
from ikclient.core.io import ImageIO

# Initialize the client with your deployment URL
with Client(
    url="https://your.flux.deployment.url",
    token="your-api-token"  # Or set IKOMIA_TOKEN environment variable
) as flux_deployment:
    # Generate an image with FLUX
    results = flux_deployment.run(
        parameters={
            "prompt": "An adventurer in the jungle with a tshirt that says 'Deploy FLUX.1'.",
        }
    )

    # Get the generated image
    output_image = results.get_output(0, assert_type=ImageIO)

    # Convert to PIL image and save
    pil_image = output_image.to_pil()
    pil_image.save("generated_image.png")
npm install @ikomia/ikclient
import {Buffer} from 'buffer';
import fs from 'fs';

import {Client, ImageIO} from '@ikomia/ikclient';

// Initialize the client with your deployment URL
const fluxDeployment = new Client({
  url: 'https://your.flux.deployment.url',
  token: 'your-api-token', // Or set IKOMIA_TOKEN environment variable
});

// Generate an image with FLUX
const results = await fluxDeployment.run({
  parameters: {
    prompt:
      "An adventurer in the jungle with a tshirt that says 'Deploy FLUX.1'.",
  },
});

// Get the generated image
const outputImage = results.getOutput(0, ImageIO);

// Convert to buffer and save
const imageBuffer = outputImage.toArrayBuffer();
fs.writeFileSync('generated_image.png', Buffer.from(imageBuffer));
Replace https://your.flux.deployment.url with the actual URL of your FLUX deployment.